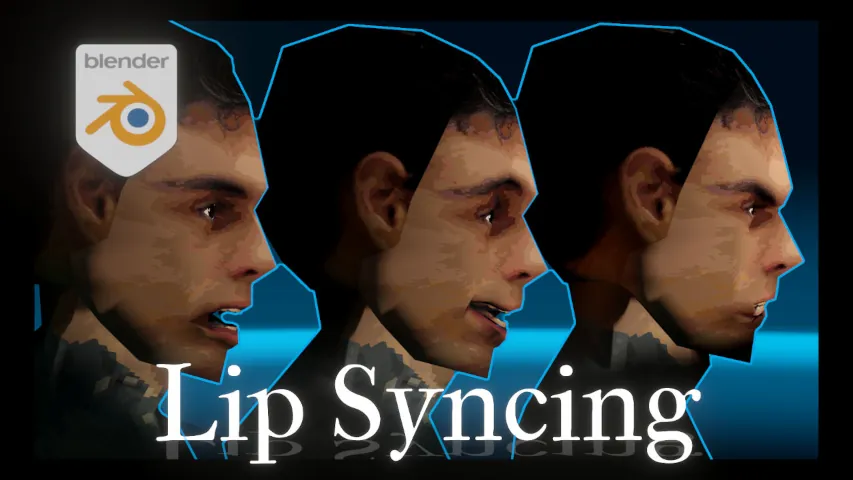
Using Shape Keys, setting up facial expressions and animating lips can be a tricky process. Come here to see how you can set up these changes in Blender for your own 3D models, opening up opportunities for animation in videos, games and whatever else you might need it for.
Sooner or later in your journey through Blender you’ll want to make use of shape keys. Something that would allow you to fine-tune the geometry of your model and allow you to tweak its appearance.
Be it for expressions on a character, maybe an animal or something else, this system allows you to control the appearance of a model with something external such as a rig. It is inherently easier to use and more manageable than going through all of the different controls you see on the right here, and modifying them one by one to get the desired results.
But what ways can you do to implement this system of shape keys? Furthermore, when you’re rigging a human face how do you know what shapes the face should have specifically, and also how can you rig the lips to have realistic movements in terms of creating the effect of speech?
I’ve just jumped us over to a new project. There’s the geometry here from the 3D model. This model has nothing special, nothing fancy to it. It has the rigging leftover, but this can be deleted, so now this is a purely vanilla model.
You could say it is no more complex than a cube. Only in the geometry itself is it more complex, so let’s see how we can go about making facial expressions. Bearing in mind that this system I’m going to show you can also be used in many other ways.
It purely depends on what you need to use this for. Understand it, grasp it, experiment with it and figure out for yourself when and where you might need to use this. So first of all you need to make a shape key by going to object data properties and pressing the little add button.
The first one will be called basis. Don’t change this unless you need to and you know what you’re doing. This tells the model what its default state should look like. If you change this it’s going to change everything else or it’s going to change the other things around it, so after making the basis key you can add your first shape key.
There’s a left side and a right side to the face, so therefore logic dictates that you need two shape keys: for example if you want to raise the eyebrows.
You want to raise the eyebrows, so you have one for this side and then one for this side. But this is kind of wasteful for your time at least, because you don’t really need to have two shape keys.
The easiest solution is just to have one shape key which changes. Let’s do it properly this time, turning on proportional editing. Select the two vertices here, scrolling down to reduce the area of change and just bringing the eyebrows up a little.
It’s changing the eyes. So we have animated a shape key to raise the eyebrows. You can call this like brow up or something if you want, but rather than have a left version and a right version we’re going to duplicate this shape key by putting this to one.
If you have other shape keys these all need to be on zero. Make sure it’s only this one. Alternatively you can just click this shape key ‘lock’ here and then even if you have other shape keys which are activated, it will only show the one that you have highlighted.
Select the particular shape key, go down to the arrow here and add a new shape key for mix that essentially duplicates this shape. It’s the same and now what you can do is tell these two identical shape keys to affect either just the left half or the right half of the face.
To do this you have to make a couple of vertex groups. We can call it face left and face right. Selecting one of them we can go to x-ray mode and look at the model from the front. Select one side of the face like so and assign it to the left side, whether it is the left or right.
Assign this with a value weight of one to the right side and select the other side like this, and assign this to the left side now. We have this middle row here as well and what we need to do for this is assign it with a weight of 0.5, both to the left and to the right.
If we assign this with a weight of 1 that means that if the left side has a shape key which affects one of these vertices, and the right key also has a shape key that affects one of these vertices, if both of these values for these vertices have full weight that means these are going to get moved twice as much as they’re supposed to be, because both the left and the right are affecting them 100%.
By putting these onto 50 percent a weight of 0.5 that means it’s going to move only by the amount that you were intending it to when making the shape keys. So we can go into Paint Mode and preview it.
We can see that we have the left side and the right side both like this, where you can see now over here. We want to make a choice for which is left, which is right brow. So for brow left we’re going to go down to vertex group and this will use this information to determine what this shape key can have an influence over.
So face left is affecting this side of the face, the left side. The brow left we’re going to assign it face left and brow right we’re going to assign it face right. Now if we put it up we see it only affects the half of the face you intended it to see.
If we remove the vertex group, if we put it onto the left, the left one moves the right one now. If you want to modify these later, and if you have a lot of them, it can get tedious, since you have to modify them all twice, fine tuning for the left and the right side.
Since they have now been separated, but if you need my advice, it would just be to delete one of them. Remove the vertex group, open it in Edit Mode and just put it to how you want it to be. I messed up here by neglecting to edit both sides together.
We can do this sometimes. Of course you can turn on the mirror mode, but this relies on your geometry being properly mirrored of itself, which this is. But now we can just do this since it’s more or less accurate if it looks awful.
All right it’s good enough for this demonstration anyway, sad-little-puppy-eyes I guess. Check out the next tutorial on how you can attach these different shape keys into a rig, so you can control them more easily.