Most 3D software offers tools for efficiently adjusting UVs, including Move, Rotate, Align and Scale. Unfortunately, Blender lacks this comprehensive toolset, leaving it without features even found in software from the 90s.
Whether for hard or soft surface models, the versatility of precise UV adjustments streamlines your workflow, catering to your specific requirements and saving valuable time.
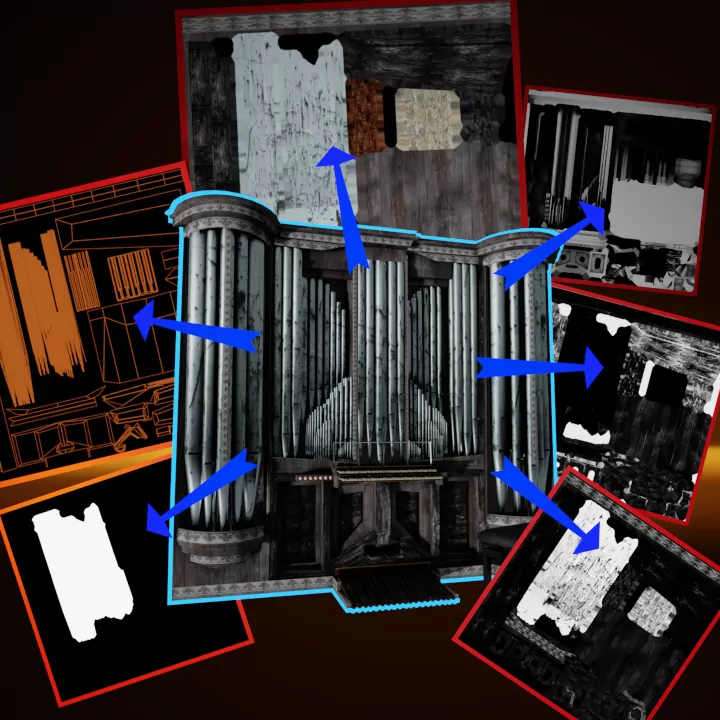
Getting UV Aligner with Material Mode (addon for applying textures in the viewport directly) and Material Tags is strongly recommended.

GET ADDON
Category: UV mapping
Blender: 2.83, 2.93, 3.x, 4.0, 4.2, 4.3
License: GPL

World Align ensures consistent texture adjustment based on world coordinates. Usually UVs tend to break due to different rotations and different locations which would then need manual adjustments and tweaks of settings. Now you just select the object or desired faces and click a button that does that adjustment in a matter of a blink.
Using Cube Project is theoretically meant to be the default salvation, but it’s inconsistent and just cannot handle angles, while using it on separate faces always spells disaster, something that World Align has no trouble with and actively fights against.
GET ADDON

Justify positions the UV map precisely using options like Top, Bottom, Left, Right, and Center. Fill attempts to neatly cover the entire image within the UV map, with X and Y values indicating image coverage or looping.
Transform handles basic UV movements, scaling and rotations, allowing customization in both Imperial and Metric systems. Flipping and Scaling provide direction reversal and resizing options with Center and Edge modes.
Sure, these things can be done manually, but there are no convenient buttons to save your precious time by removing a 50-step surgical procedure. Want to align the UV perfectly to the top edge? Have fun zooming in and in to just get a close approximation to perfect. Want to scale a face’s UV from its bottom edge? Time to get the cursor tool out again.
Don’t even get me started on the trickiness of getting a UV to fill a face, or for an object’s faces to be properly aligned despite their different world coordinates… Fiddling and fiddling on every face every time. Thousands of faces, thousands of hours…
But it’s also important to remember that even if the UV workflow is streamlined, it doesn’t dodge the fact you need to apply the textures on all those faces, which can be done with Material Mode, where simplification meets your life as you select your material and then throw yourself in the viewport by clicking on face after face to apply that said selection, throwing out the laborious process of manual hell and bringing prosperity to mind and output.